Tips on Food Photography
Whenever you turn on the camera to share the food at your table on social media, do you instantly feel that the photo is super ugly? Today, I will share with you some of my tips, hoping to help you take some good-looking food photos.
Step 1: Find a place with plenty of light
Adequate light is the most necessary thing in photography. If you take a photo in a place with insufficient light, there will be a lot of noise in the captured image, and the object being shot will also be unclear.
The following 3 tips will teach you how to master light:
- It’s beautiful to take pictures with natural light!
The light of natural light is the most natural and warmest, and this kind of light is most suitable for photographing food. If you have a great balcony or window sill, it is suitable to shoot in the morning when the sun shines in by the window. At this time, you can also use the backlight angle to shoot, which can make the food feel bright and warm. - Shooting by the window is a good choice
The window is a good place to take pictures. No matter if it is cloudy or sunny, it will look beautiful in natural light. You can also use the “golden hours” of sunrise and sunset to take photos of different moods. - Do not use flash
To take good food photos, it is best to turn off the flash and use natural light sources as illumination, because artificial light sources can easily create shadows or distort the color of the food.
Step 2: Composition-Simulate the picture
- Keep the balance of the picture:
Regardless of shooting the scene with only a simple background and the food itself, or shooting the scene with irregular props, maintaining the balance of the picture will make you feel comfortable. If you don’t know how to start, you can place the protagonist to be photographed in the center of the screen first, spread the props to be displayed around the screen, and then slowly adjust. - Food close-up:
When you want to emphasize the texture of the ingredients, you can use the close-up method. The grain and texture of the ingredients will be very strong but make sure to pay attention to whether the focus is clear. This type of composition is often used in shooting menus or artistic situations. - Complete and incomplete:
Sometimes it is not necessary to fill every corner with paint when painting, and the same is true for shooting. Timely blanking will increase the viewer’s imagination. The most common thing is that a piece of cake only takes a ¼ circle, and the rest of the picture can be put on some lovely tableware or tablecloths to increase the richness of the picture. Or maybe half of the meal, you can also challenge to see this shooting technique!
Step 3: Choose the right angle
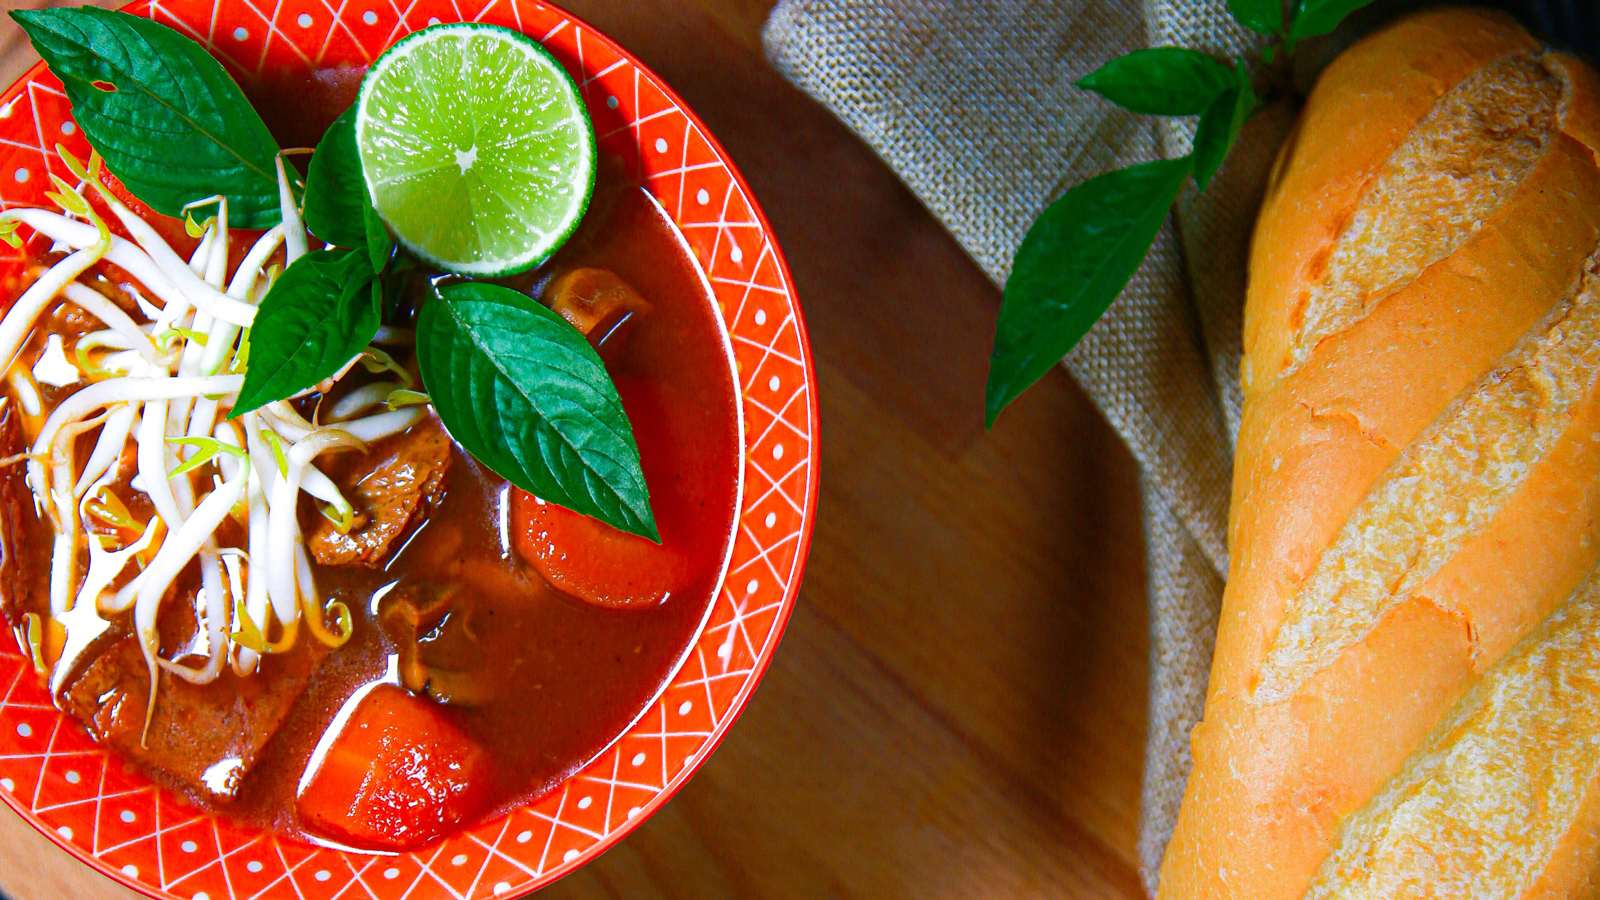
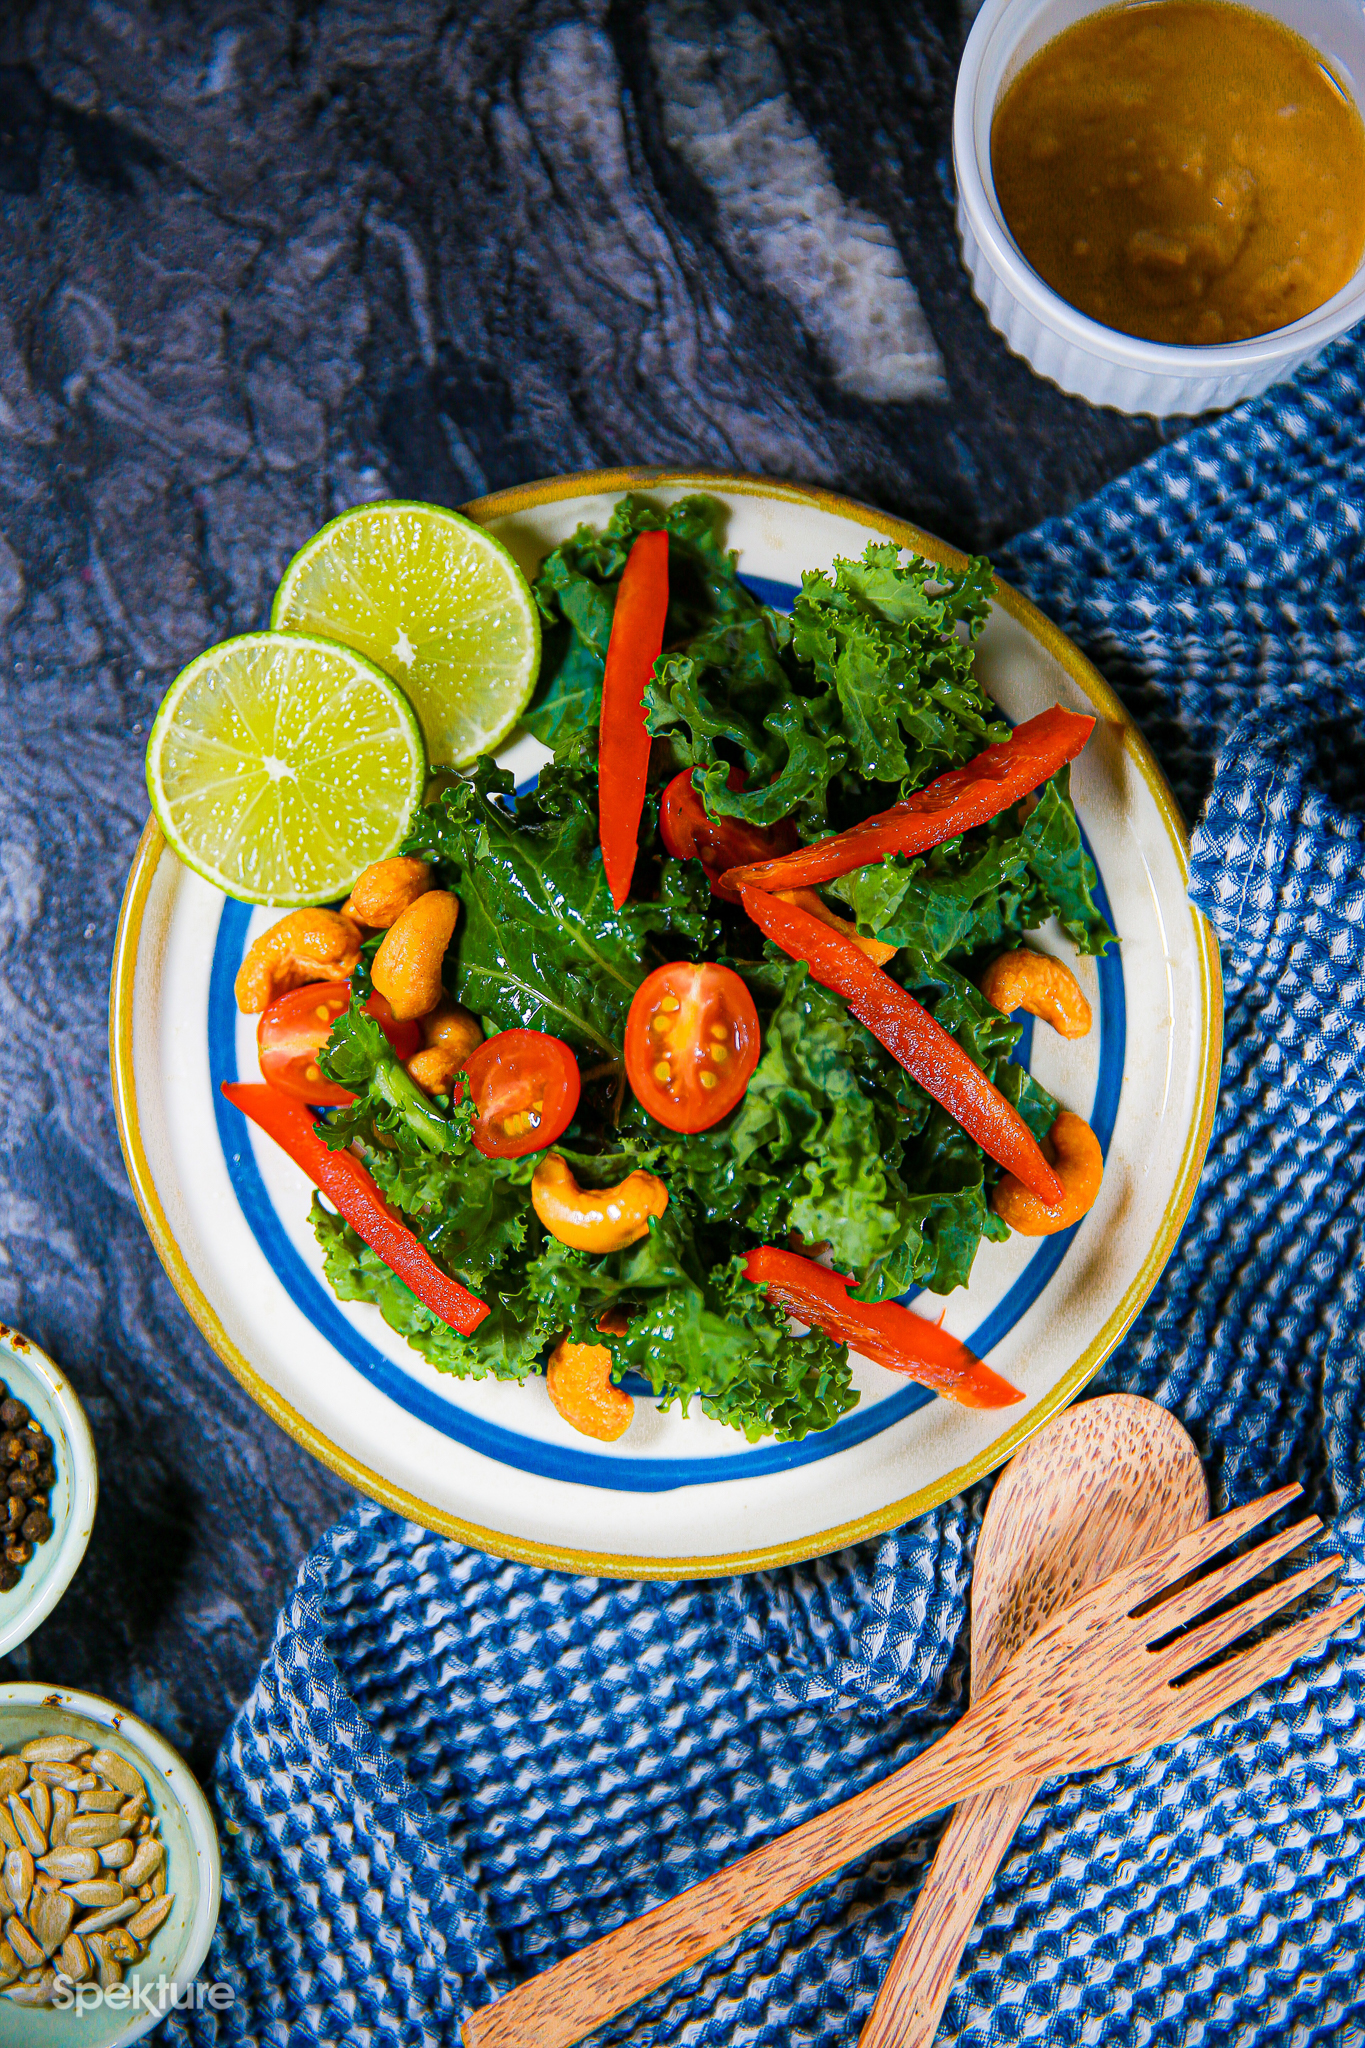
- Bird’s-eye view angle (photographed from top to bottom):
The angle at which the camera is parallel to the food is called the bird’s-eye angle. In recent years, this bird’s-eye view-style photography method has been used more and more, usually with suitable props in the picture. This method can capture the full picture of the food and the careful arrangement. Whether it is one dish or a whole table of dishes, many different combinations are suitable for this angle.
Suitable for the situation: universal! It is especially suitable for presenting a table full of delicacies or a plate full of rich and bright dishes. - Horizontal angle:
If your food itself is multi-layered, or you want to emphasize the rich fillings in the food, shooting with a horizontal angle is very suitable. For an extra pop, consider using cascading to create different visual images.
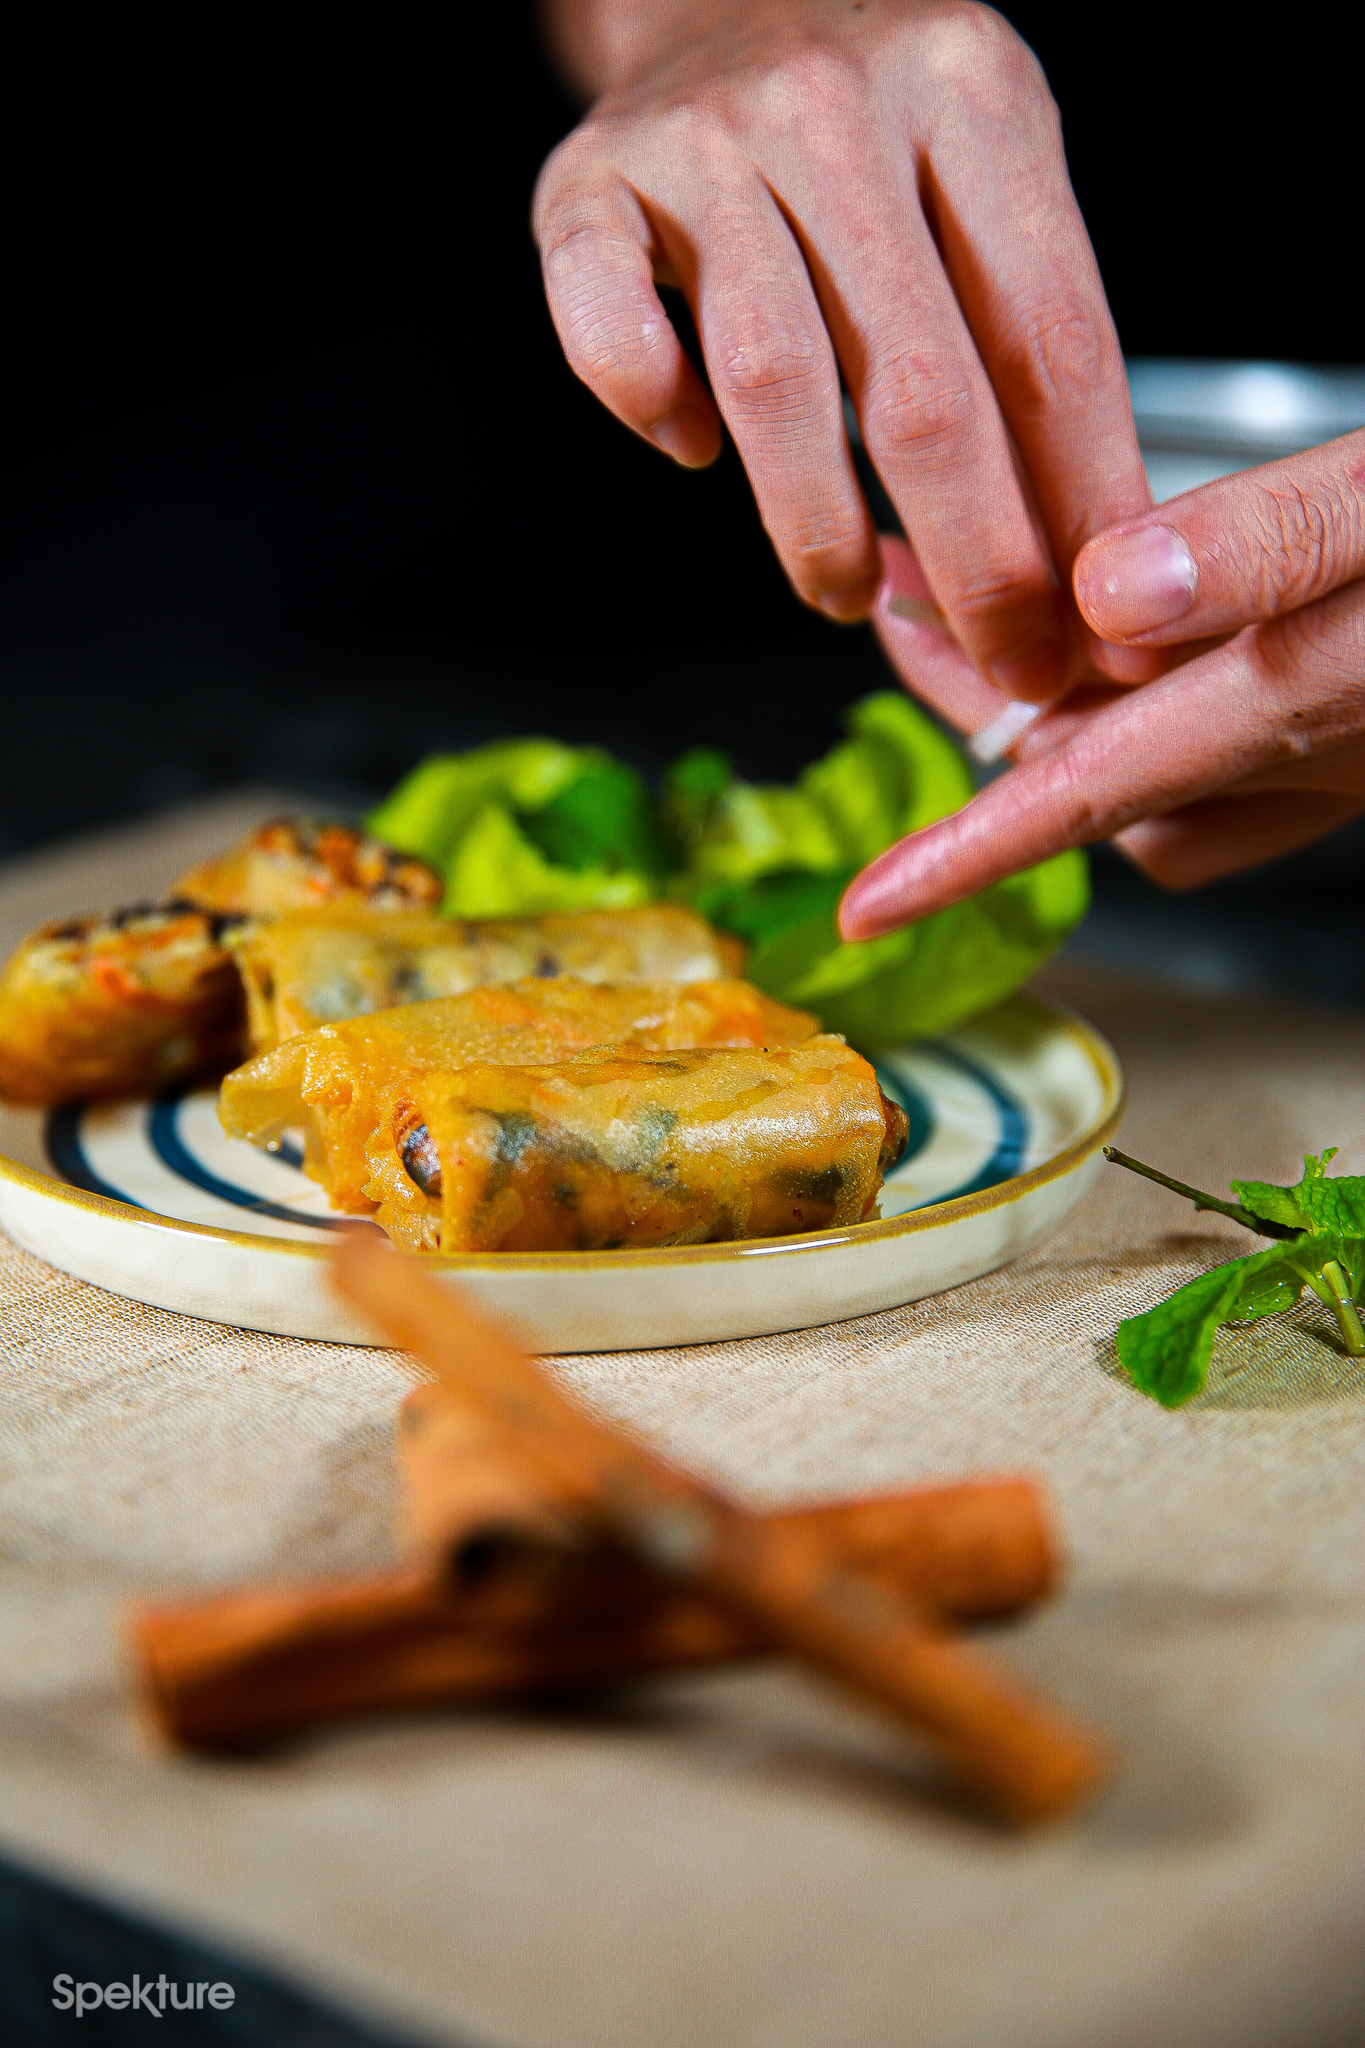
Suitable for the situation: food with a sense of layering, such as cakes, burgers, or stacks of biscuits. - Side angle:
The side angle is the angle of sitting at the table and looking at the food (45-degree angle). It is the angle that stimulates the appetite the most. It can capture the whole picture of the food and avoid unpleasant shadows, but be careful because of this! The angle can be shot up to the widest angle in front of the table, so sometimes the protagonist will lose focus. To address this, consider shooting with the depth of field mode at the right time to focus on the protagonist and beautify the background.
Suitable for the situation: To highlight the details, capture the characteristics of the food, and shoot the moments that stimulate the appetite, such as dripping soup or melting ice cream.
Step 4: Take a clear picture
If the image of the protagonist in a photo is blurry, it will lose its color a lot. Now that most mobile phone cameras have functions such as “anti-shake” and “autofocus,” you may wish to read the instructions or watch a quick video on the features of your phone camera. Many of these new features, such as in the iPhone 12 Pro Max, give much better results with half the effort!
- With the help of mobile phone focus function
Tap on the thing you want to focus on, press, and hold for 1-2 seconds to lock the focus. This prevents the camera from losing focus after moving. - Make good use of the tripod or find a leaning object
If you want to take a clear picture, the tripod is an indispensable helper. If you don’t have a tripod, you can rely on the desktop, wall, or the shoulders of friends to keep your hands from shaking.
If you really don’t have any friends or equipment to assist you, a simple trick is to “clamp your armpits and hold your breath for two seconds.” Finally, remember to take a few more shots just in case, and zoom in to make sure the screen is clear.
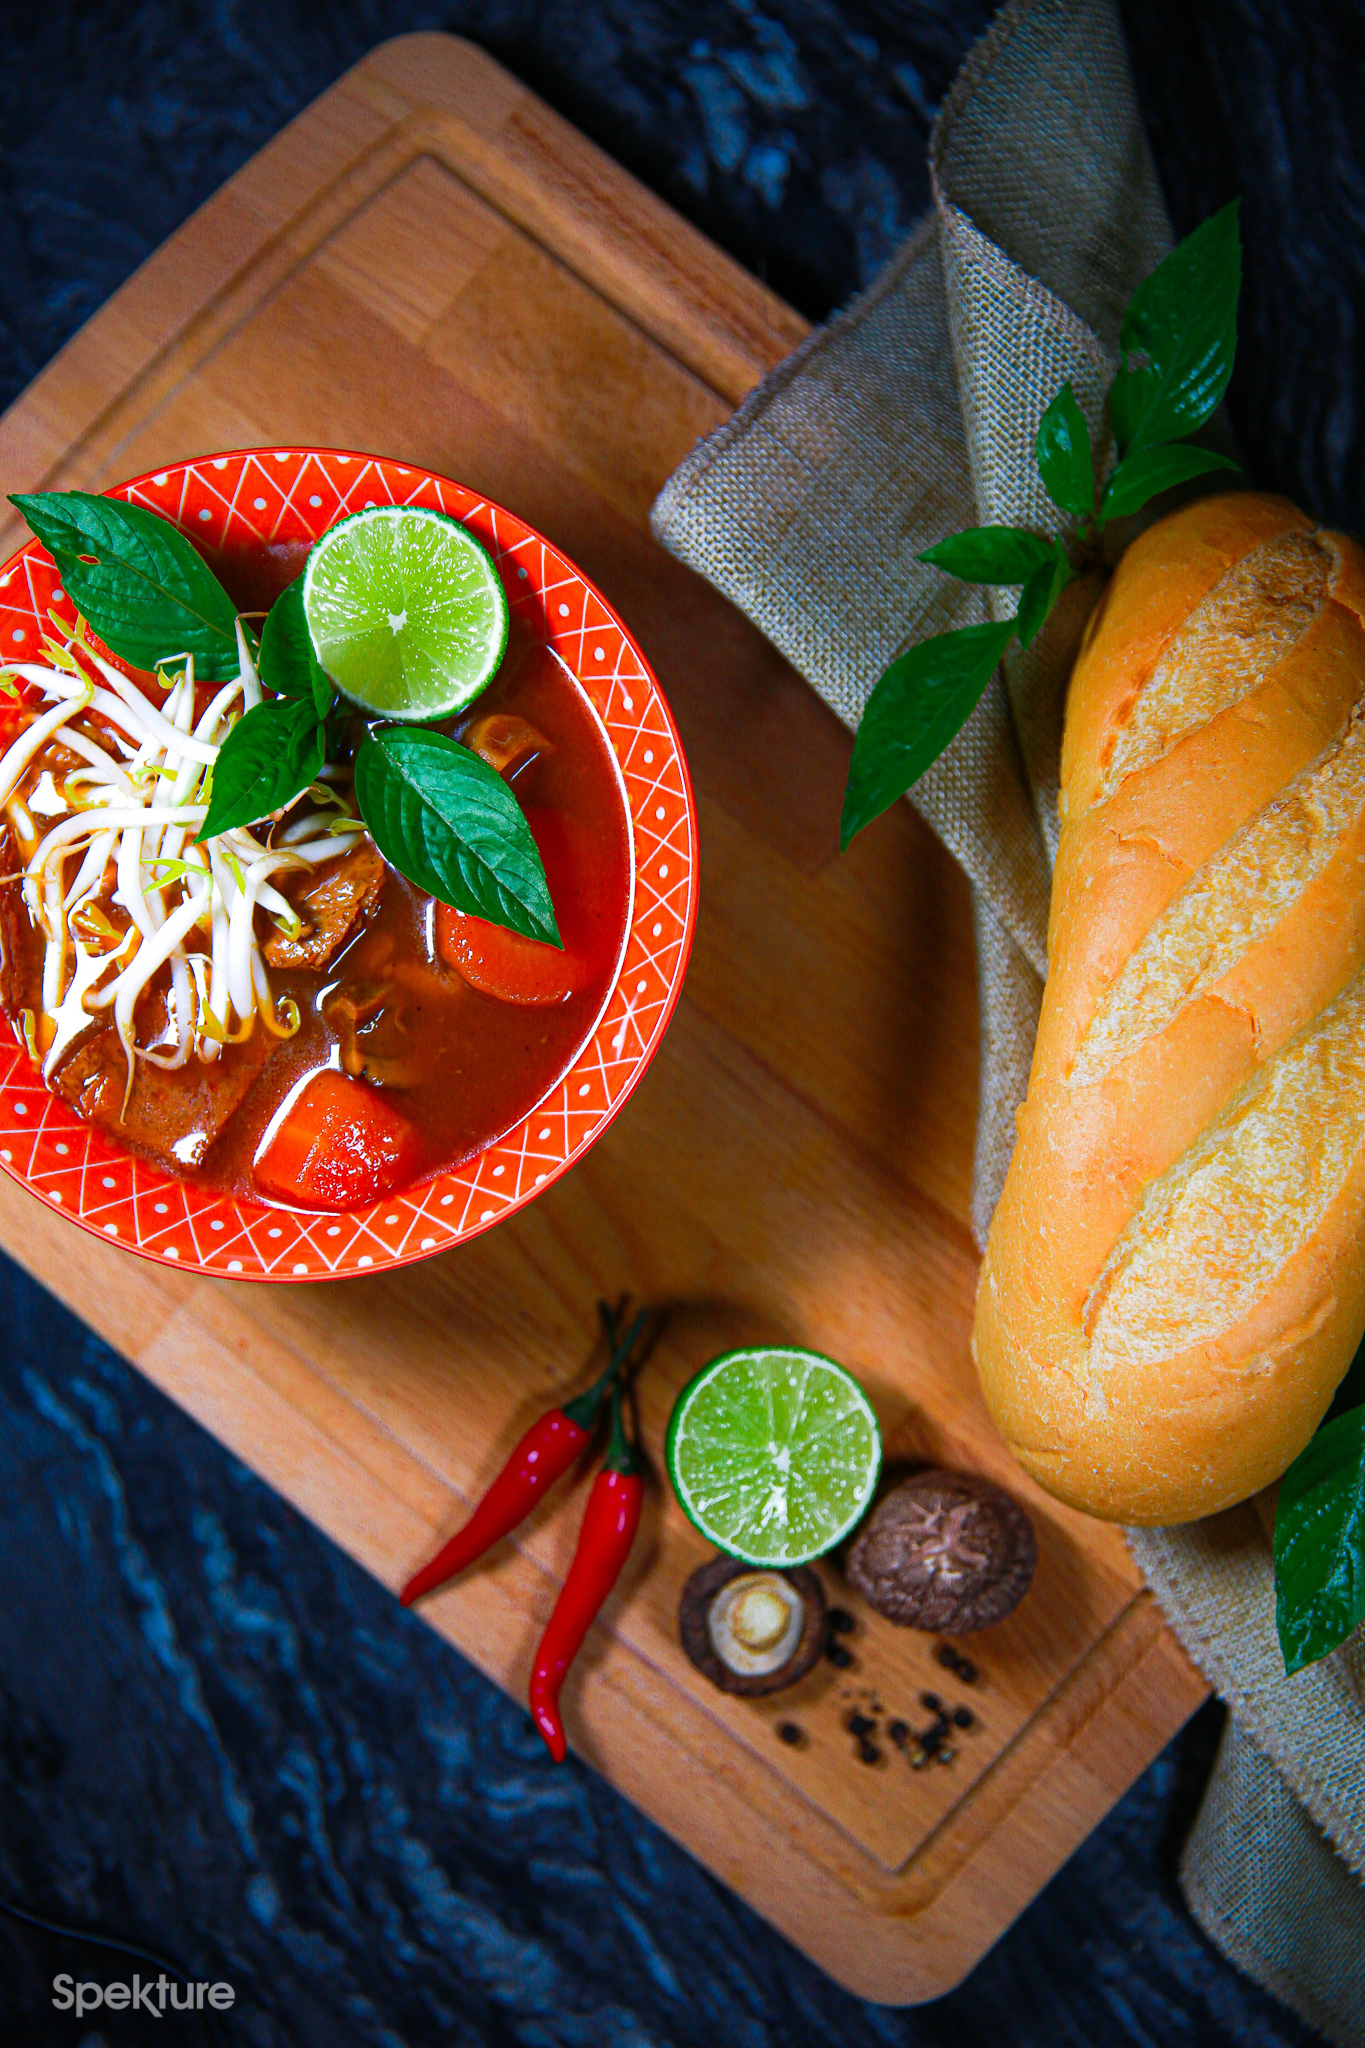
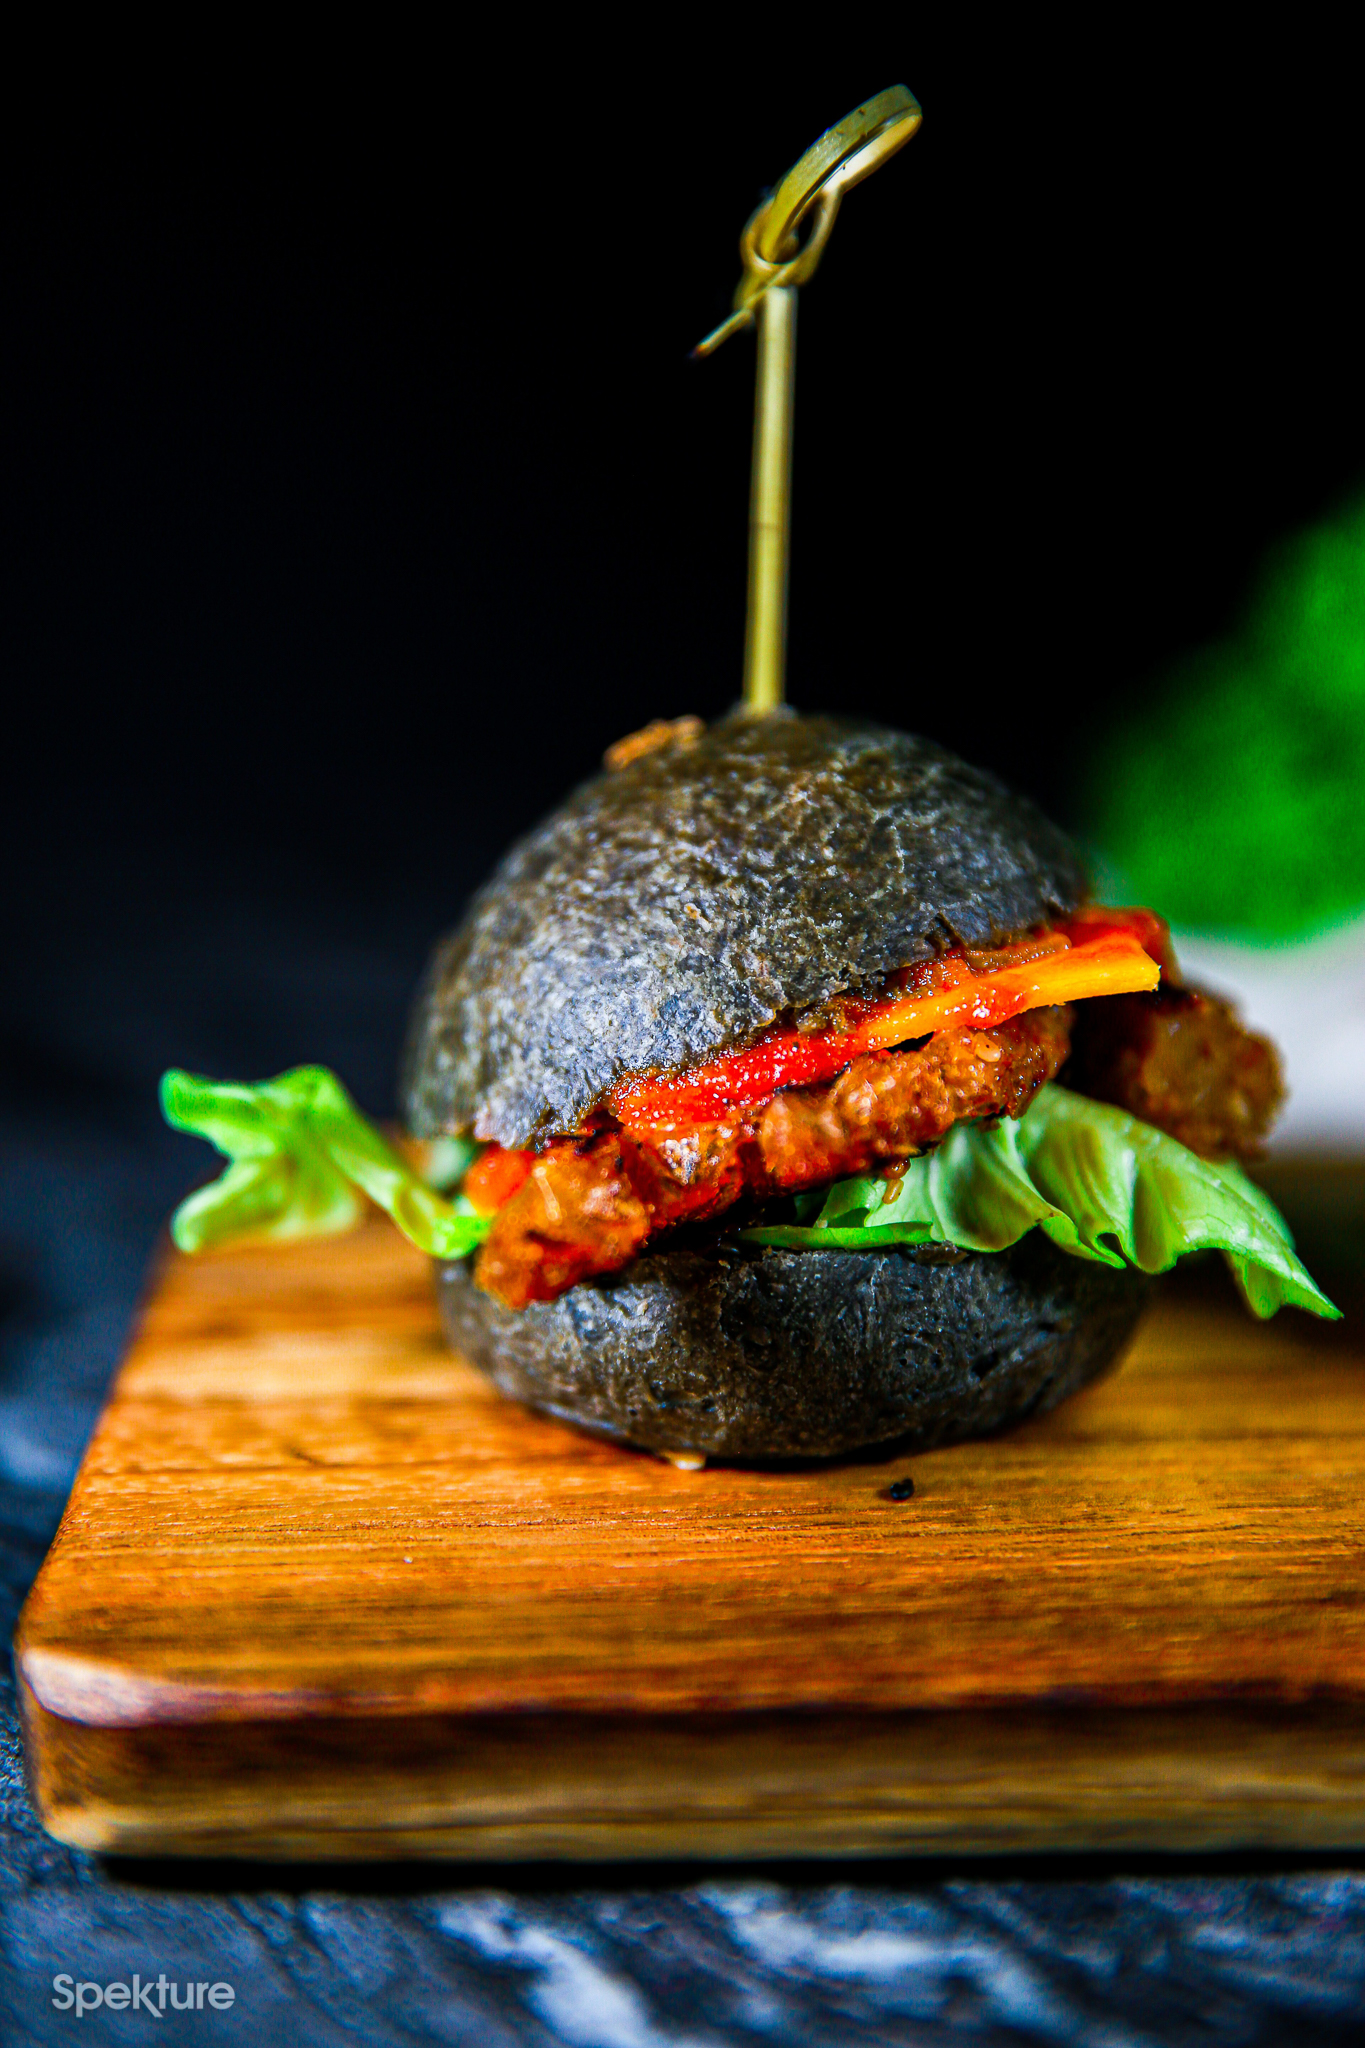
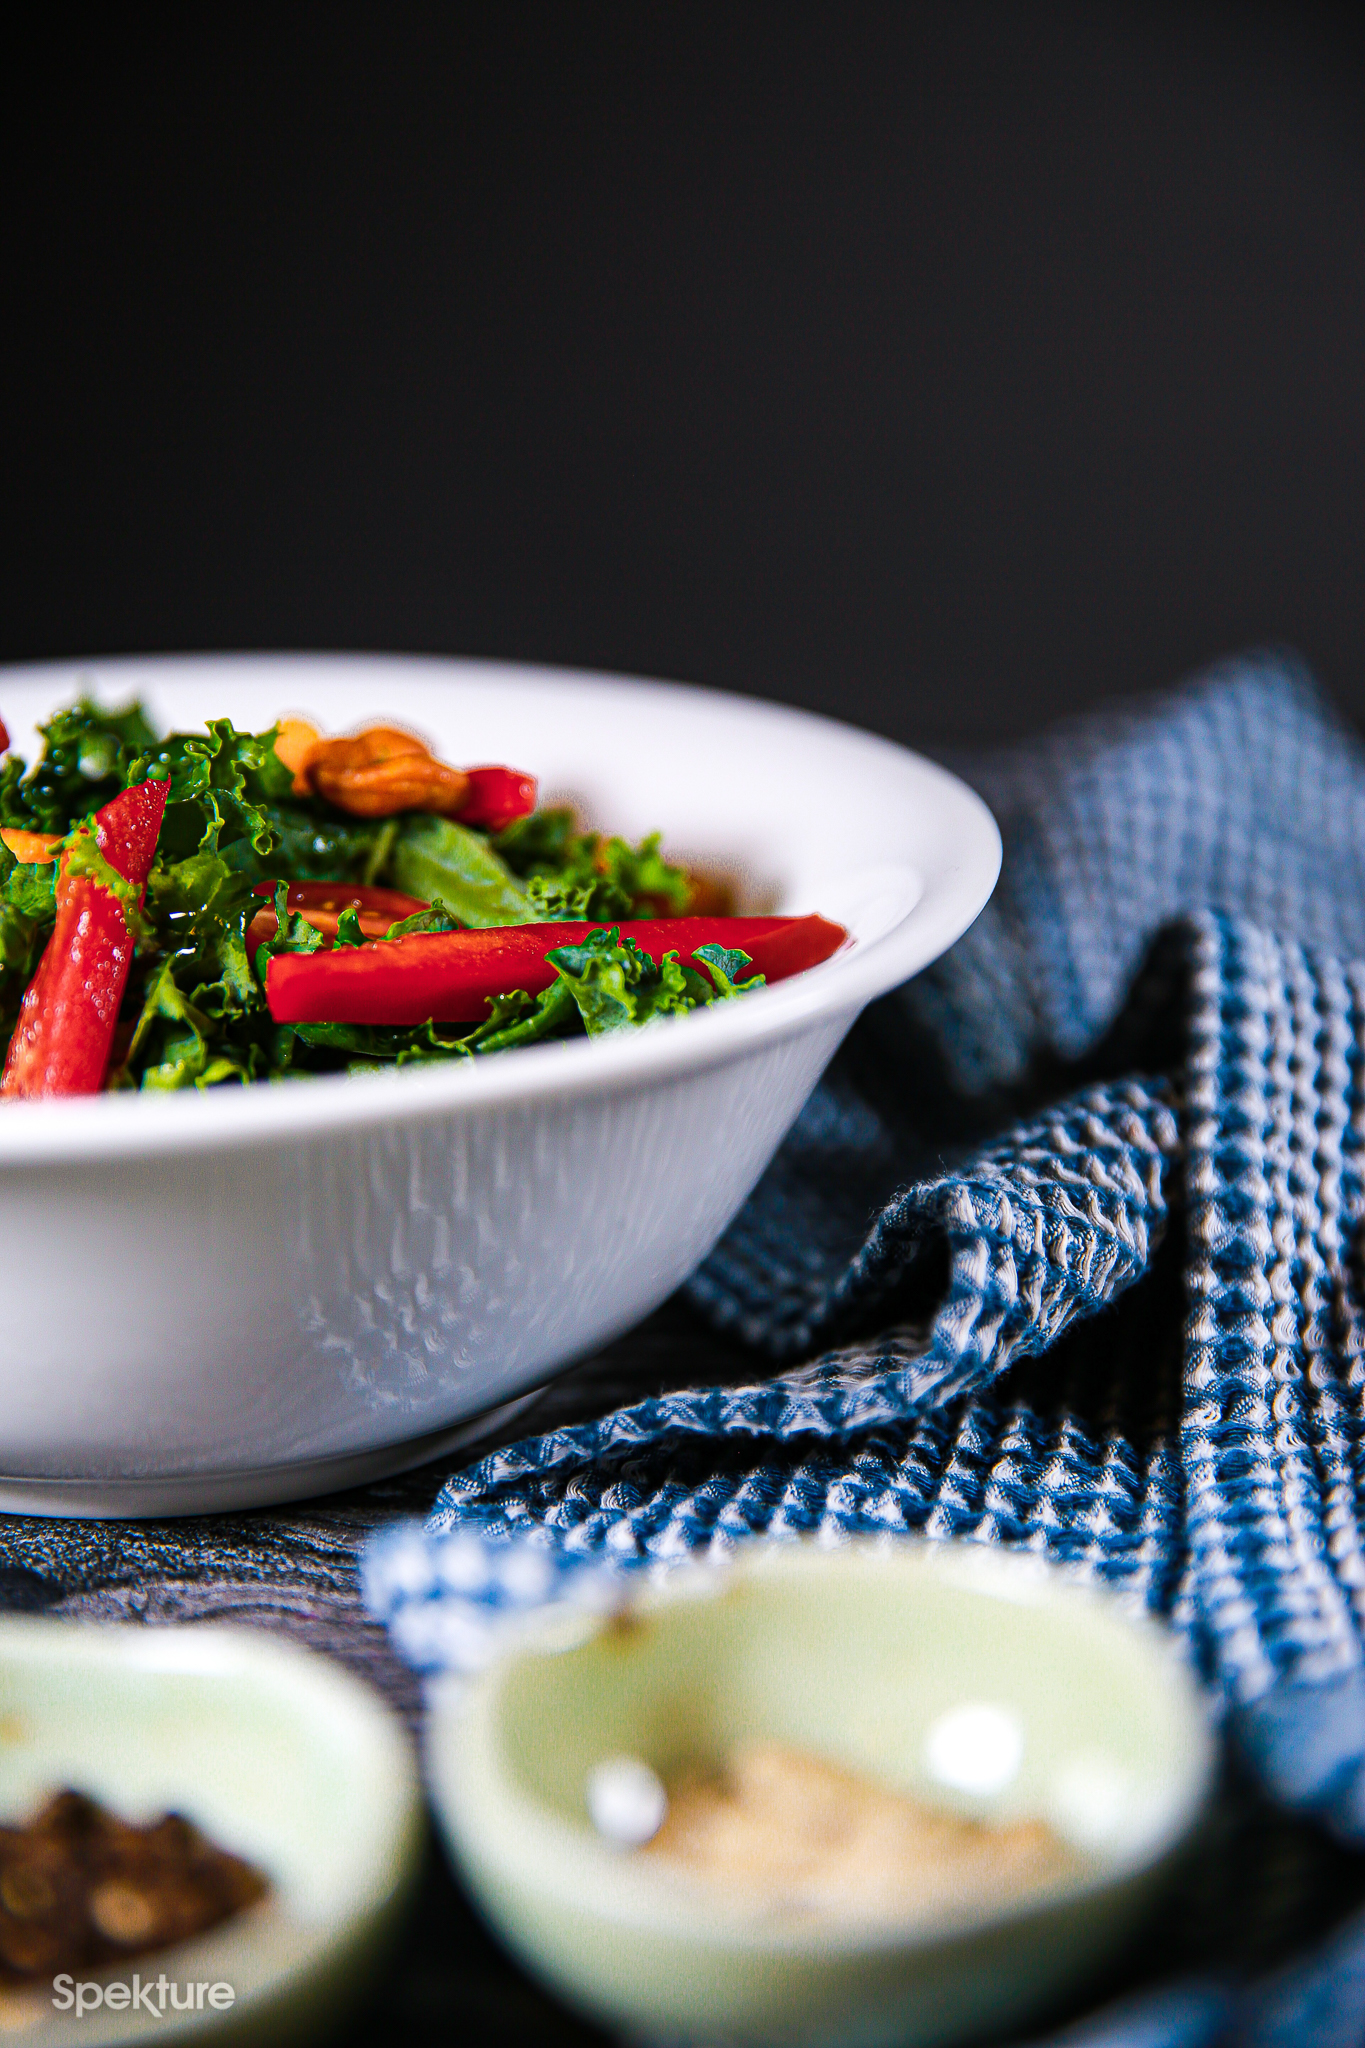
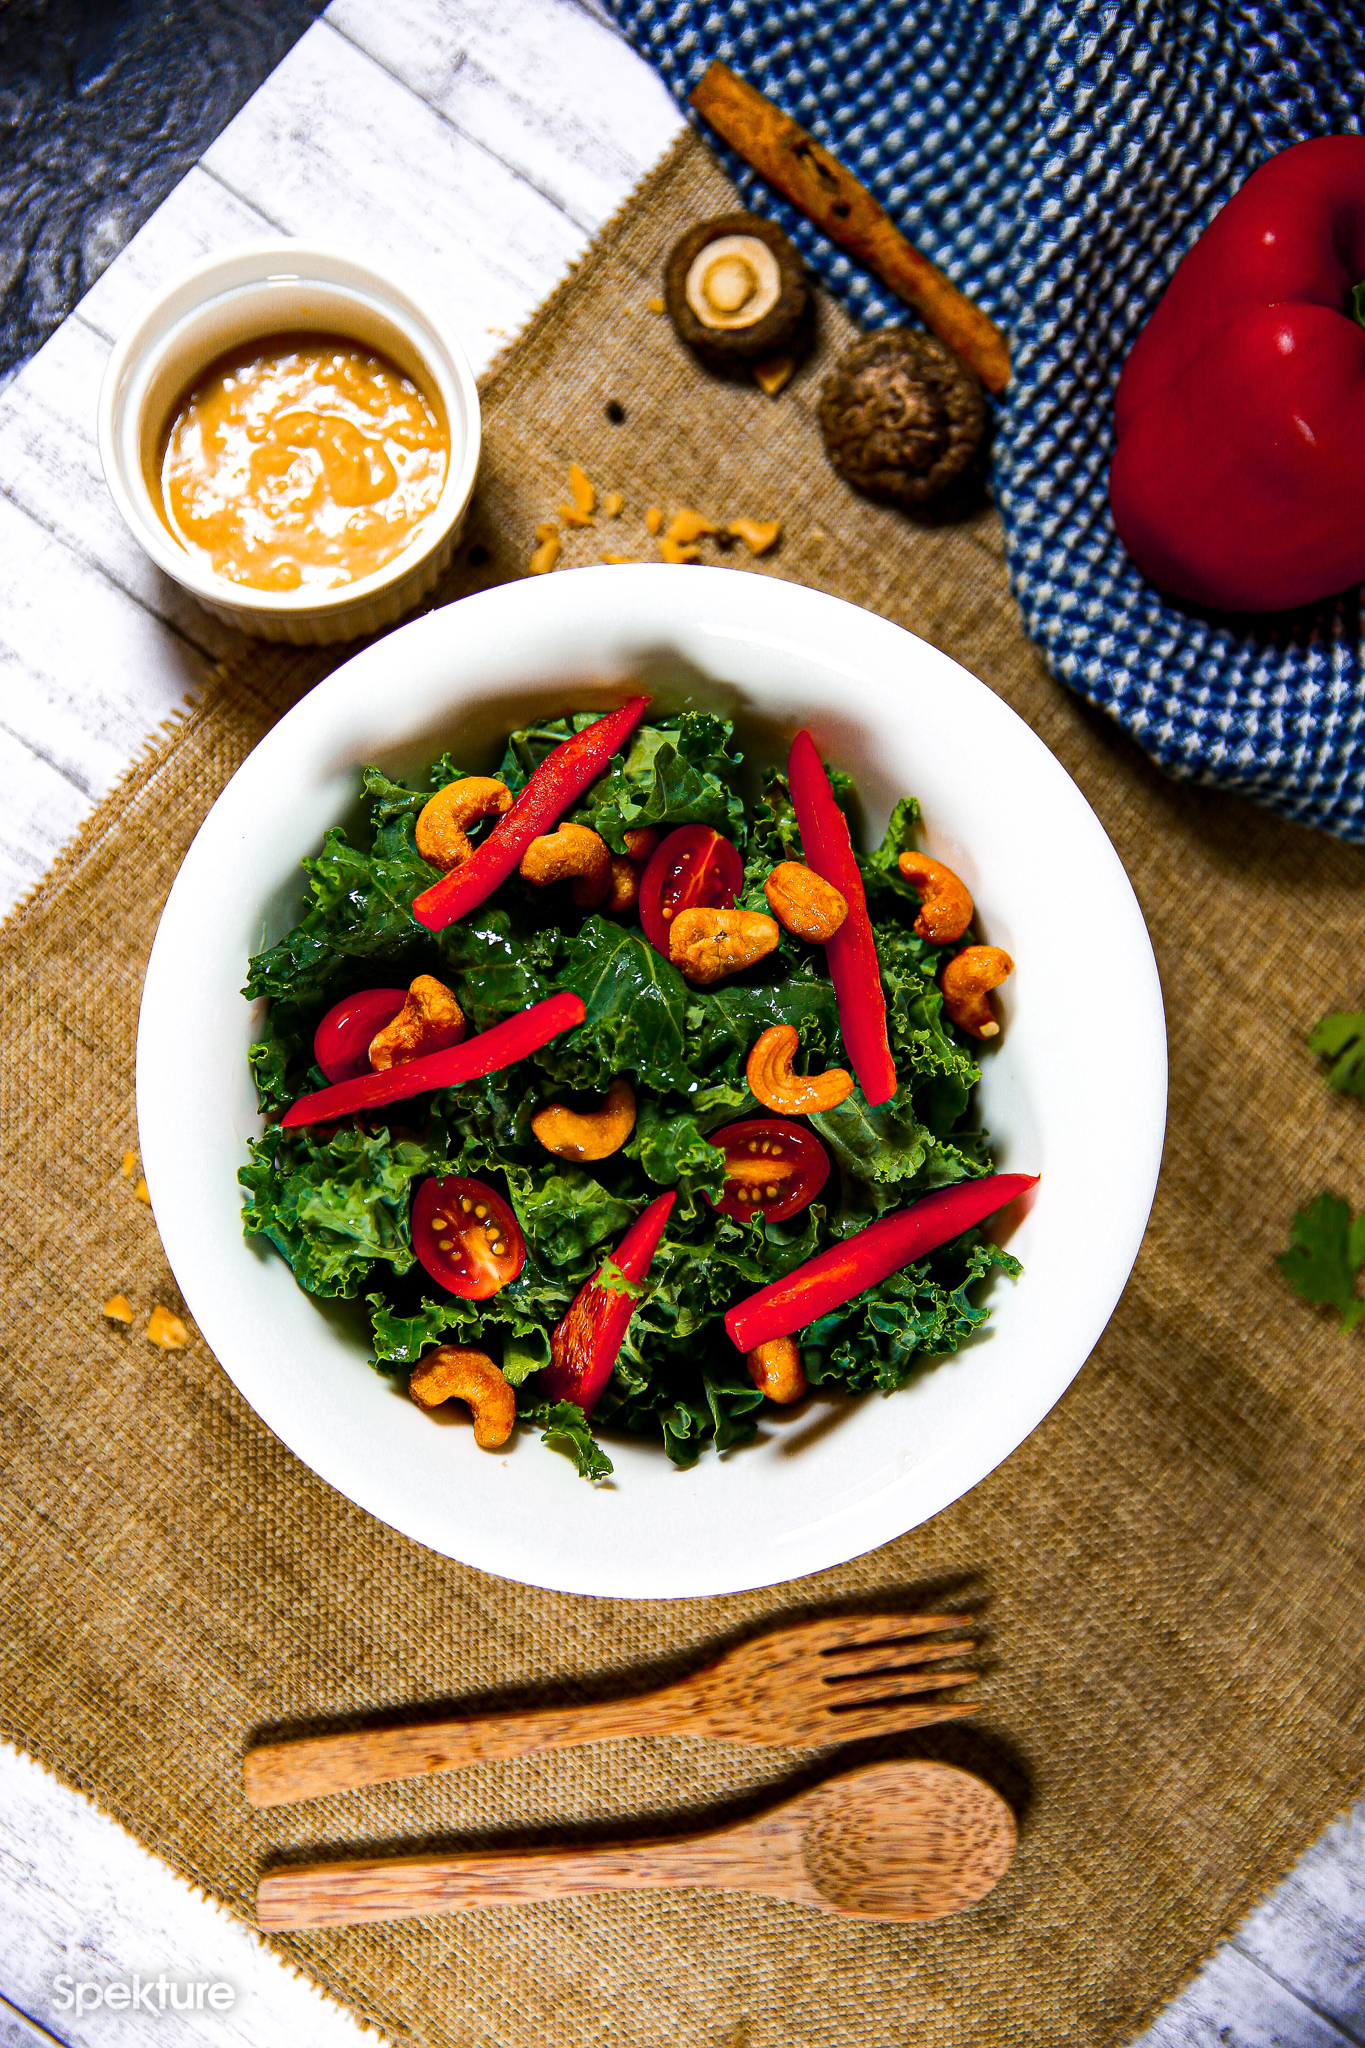
Photo & Words by Eric Zhang