It’s getting to be my favorite time of year, the weather is starting to cool down, college football is on the television (Go Gators!) and the fall car show schedule is in full force. If you’ve attended a few shows and attempted to take photos, you know there are some obstacles that always seem to come up and sometimes the photos you hoped to get aren’t at the level you wanted. Here are a few things that i’ve learned over the years that have helped me improve my photography and they could possibly help you out too.
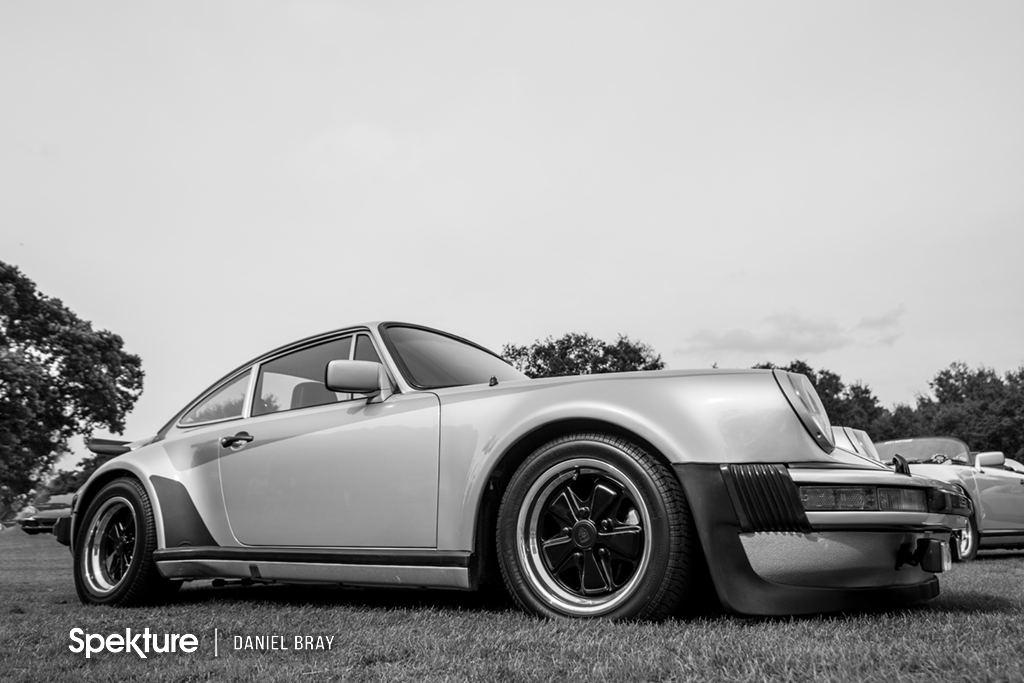
1. Angles. Get high, bring it down low, do anything but shoot at eye level, that’s what everybody sees. Climb bleachers, jump on a stage, nearby benches, lay on the ground, be different.
2. Be Patient. Most shows will have a lot of people walking around checking out cars and taking pictures. Find the angle you want, get your settings set and when there is a lull in the action, grab your shot.

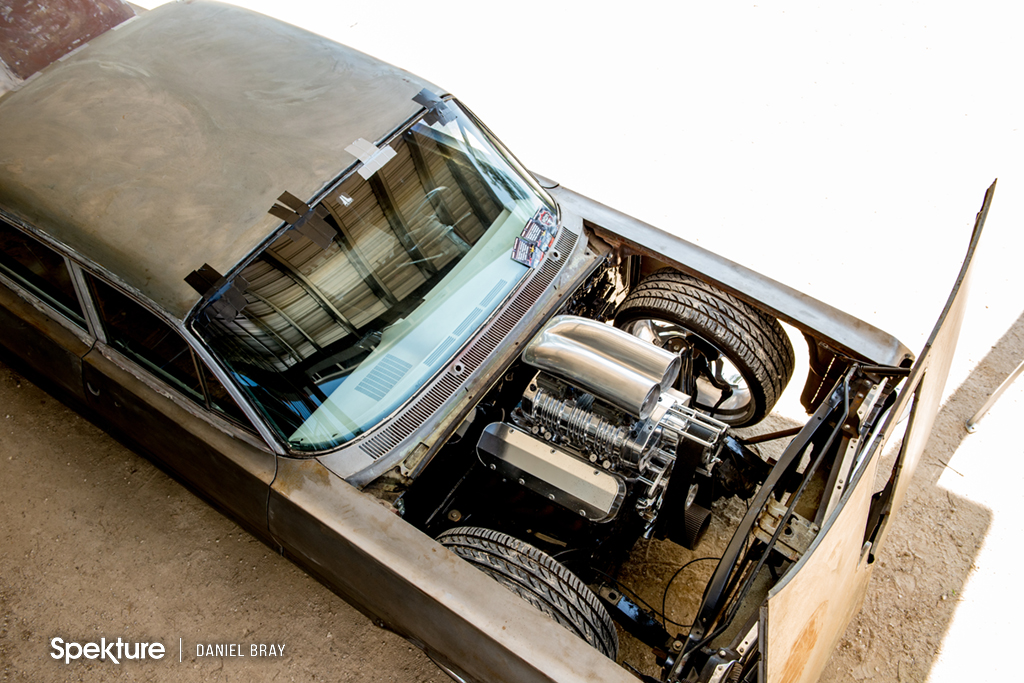
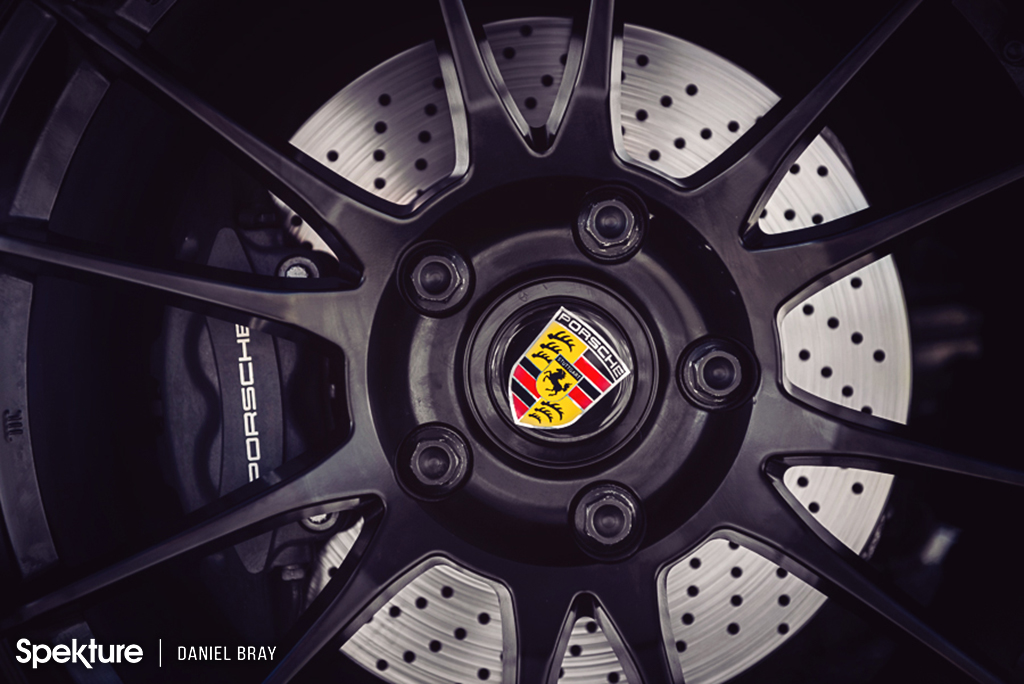
3. Details. Make sure to capture images of the Rims, Calipers, Interior, Engine, Hood Ornaments and Badges. They are all a piece of the artwork.
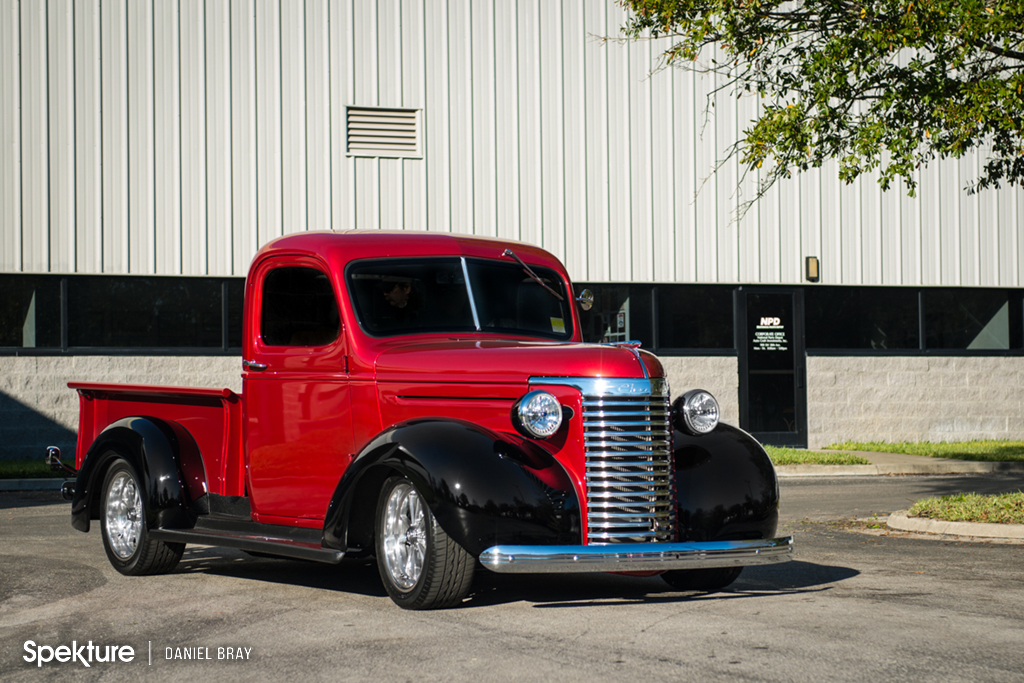
4. Arrive Early. Sometimes I like to hang out at the entrance where the show cars will be entering the venue. You can usually get a clean background with little to no distractions and the light is usually better in the mornings when the sun is low.
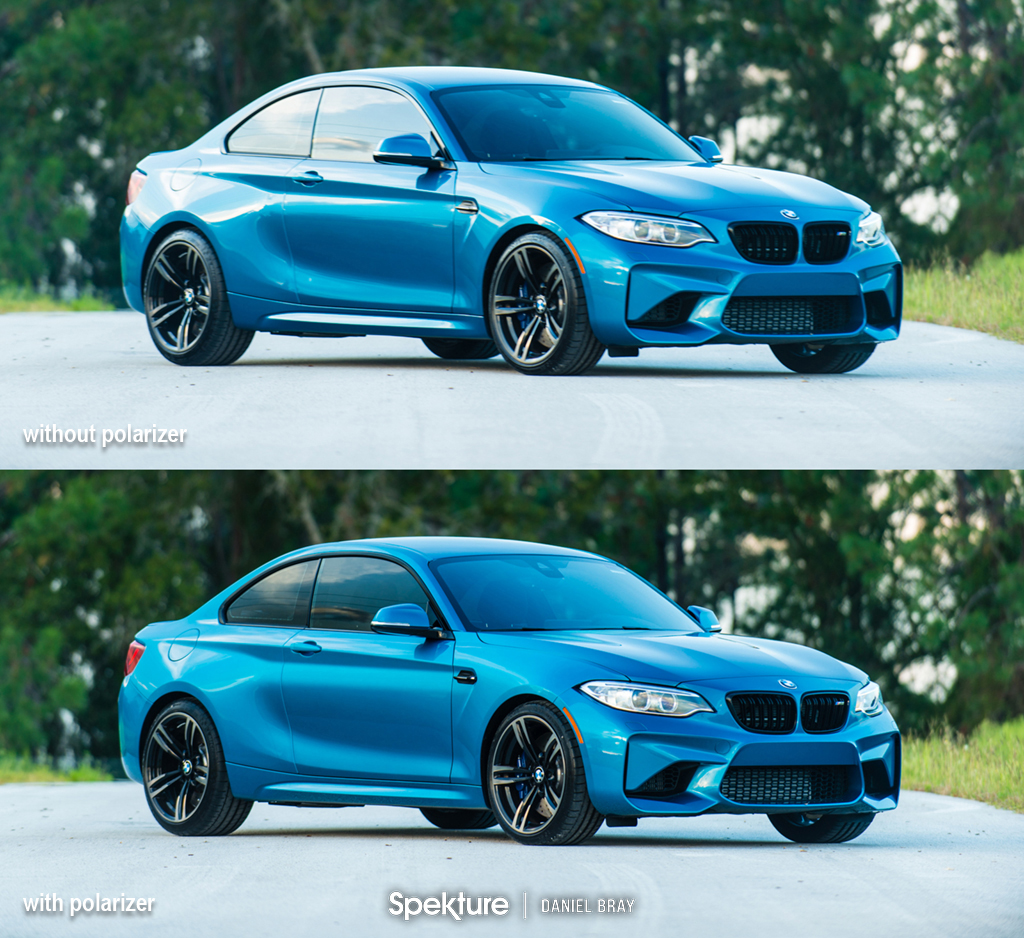
5. Polarizer Filter. This is the only tip that requires you actually buy something, but it’s worth the money. It is probably the one thing that I found made the biggest difference in the look of my images. By using a polarizer filter, it helps to reduce the glare and reflections in the paint. You can find some budget filters fairly cheap, but if you can afford a good one, it will produce better results and a more accurate representation of color. The less expensive filters tend to exaggerate and saturate colors.
If you follow these tips, your photography should improve tremendously in a short amount of time and the best part is without spending a lot of money.